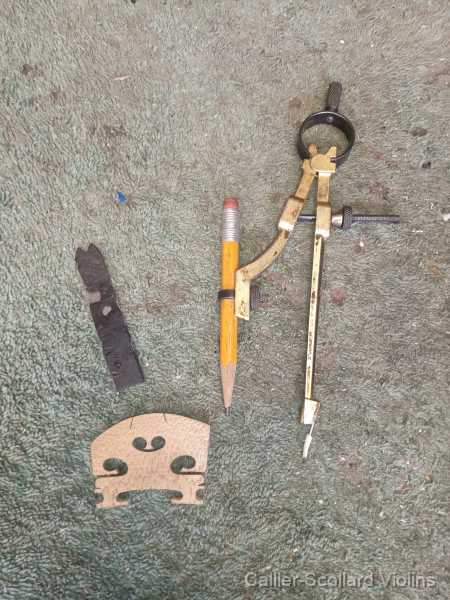
Once you have established the correct curve and height of the bridge, the next step is making the notches. You have templetes for cello, bass and their various sizes. For the templetes you also have string spacing guides. The space between the string centers should be the same. The trick is getting the usual 4 notches in the center. Here is a little trick to help center them, using your claipers set at the your chosen string spacing or in the picture that's my 4/4 violin bridge and nut spacing tool. First, use the compass to estimate the position of one of the two inner string notches.. I generally prefer the overall string spacing to be offset slightly toward the bass side, approximately 1/2 mm, rather than perfectly centered. Place the point of the compass at the edge of the bridge curve and adjust the pencil to a position slightly beyond where you expect the A-string notch to be. Draw a small arc on the bridge, then turn the bridge around and repeat the process from the opposite edge. These two arcs establish reference marks for positioning the string notches. Using the wing dividers set to the desired string spacing, position the two inner string notches evenly between the reference marks, making the final adjustment approximately 1/2 mm toward the bass side. Once the two inner notches are established, use the same wing divider setting to mark the two outer notches, ensuring equal spacing between all four strings. File the notches with a small triangle file, for bass and cello, then use a small round file. Once the notches are in the correct place surnish the notch so the wood is slightly compressed. This keeps the string from digging into the bridge.  IMG 20260724 150226 405 |
|